I’ve been there: collapse into bed after a long day, only to find my favorite sleeping position is suddenly not working, leaving me restless. I settle in for a few minutes, but then it starts. A nagging throb under my shoulder blade.
Like me, maybe you too have woken up wondering how you managed to “injure” yourself sitting at your desk or worse, in your sleep! You find yourself fidgeting behind the wheel or at your computer all day, only to be kept up at night, unable to find relief from that persistent ache. If your pain feels like a deep, stubborn knot nestled in for a long winter’s nap under there, you’re in the right place.
The Anatomy of the Ache
What if I told you that the source of your discomfort might actually be a rib?
You might be thinking, “Wait, I have ribs up there?” Believe it or not, you do! In fact, this is one of the most frequent questions I hear from patients when educating them on their anatomy.
We each have 12 pairs of ribs with the first pair beginning just below your collarbone (the clavicle). The first pair of ribs actually forms a “collar” making a circle from your spine in the back to your breastbone (the sternum) in the front.
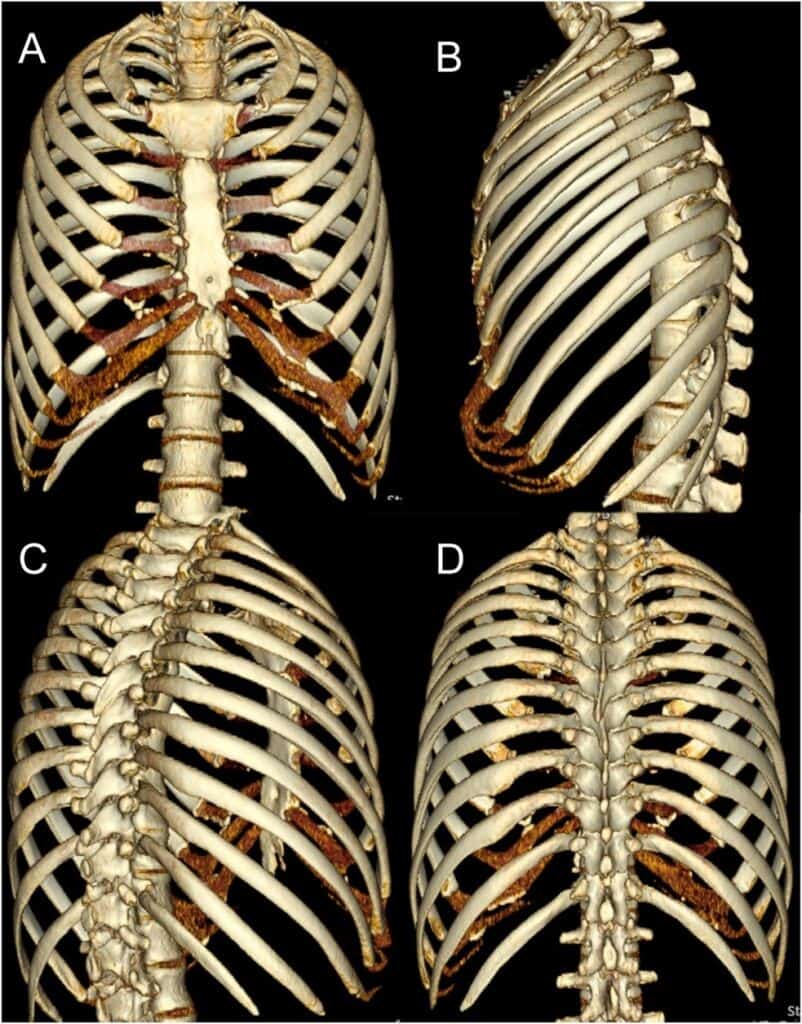
Your pairs of ribs continue in this pattern until pairs 11 and 12, which are termed “floating ribs.” They earn this name because they do not connect to your sternum either:
- Directly like the “true ribs” (1-7) or
- Via cartilage like the “false ribs” (8-10) above them
Instead, they attach only to your spine and then “float” in the front.
My Ribs Move?
So what’s the purpose of our ribs? Our ribs provide vital protection for our organs, as you can imagine, but they are also incredibly dynamic. Our ribs move with every breath we take, and every move we make (you can sing it if you know the tune).
Part of what makes this movement possible is that between each rib there are layers of muscle, termed intercostal muscles (costal = rib, inter = between). These muscles run in multiple directions, allowing us to move freely through various positions.
Like you may have experienced in other parts of your body, these muscles can get tight, achy, or form the infamous “knot”. But what is a “knot” really?
Muscle Knots, Trigger Points, and the Conundrum
A muscle “knot,” or trigger point, is a hyperirritable spot in a skeletal muscle.2 Specifically, they are classically referred to as “a palpable nodule in a taut band,” of skeletal muscle.2 In order for a sensitive spot to be a trigger point, it must cause both local and referred pain.
For example, if you are massaging the tops of your shoulders and find a sensitive spot that, when pressed, causes pain to radiate down down your arm or up your neck; that is a trigger point.
There are several theories as to why trigger points develop, but it is widely accepted that the painful portion of the muscle is ‘stuck’ in the ‘on’ position. It remains contracted (continuing to perform its muscle action) even while the surrounding tissue has successfully relaxed.
So, we’ve established that you have ribs spanning as high as the tops of your shoulders, and each of those ribs is connected to one-another by layers of muscle. As you can imagine, these muscles are just as susceptible to trigger points as any other skeletal muscle in your body.
What frequently happens (and what I treat most often) is that these trigger points become so irritating that patients reach for a lacrosse ball, a tennis ball, or a trigger point cane and immediately start digging into the painful area to try and get relief. The whole point of acupressure (the “digging”) is to press on those painful spots (the muscle “knots”) until they FINALLY release, right?
A Beautiful Idea, Gone Wrong
This is a very intuitive and logical approach; however, here’s where that wonderful idea of acupressure can go wrong.
The space between your ribs is small, and the muscles that reside there are even smaller. When there’s a restriction in this tissue, the ribs can actually be pulled or twisted by the muscle.
Remember: a trigger point is a section of muscle fibers that are “stuck” in the active position.
Think of it like this: if you have a trigger point in your bicep, those specific fibers are still trying to bend your elbow even when you are trying to relax your arm.
This same concept applies to your intercostal muscles (the muscles between your ribs). If there is a trigger point within an intercostal muscle, your ribs can be shifted or rotated by the constant pull of the muscle. This shift can cause pain with every breath, twist, or movement. It can even create a physical “bump.” When this happens to an upper rib tucked under your shoulder blade (scapula), the blade can continually “hit” that misaligned rib as you move, creating that persistent, nagging “knot” sensation.
Why the Lacrosse Ball and Cane Fail
Where acupressure with a ball or cane often goes wrong is that the most accessible, painful area for the tool to land is usually the wrong spot.
You see, when there is a trigger point within an intercostal muscle, those fibers pull their two respective ribs closer together. This closes the natural gap between those two ribs, while simultaneously widening the space between the adjacent ribs above and below them.
When you reach for a lacrosse ball or a trigger point cane, it’s easy to nestle either tool into the most open space, but by digging into that widened gap, you are actually encouraging those ribs to stay further apart… which only forces the adjacent ribs to stay closer together!
It’s a beautiful idea for pain relief, but without targeting the correct rib gap (the intercostal space), it can actually reinforce the very pattern causing your pain.
The Solution To Your Rib Pain
I have seen countless patients come in and watch their dismay as they realize they have been accidentally perpetuating their pain in an attempt to relieve it.
So, now that we have a clear understanding of where our ribs and their muscles are, how they are meant to move, and how trigger points create dysfunction. But how do we actually fix it?
This is where I can help.
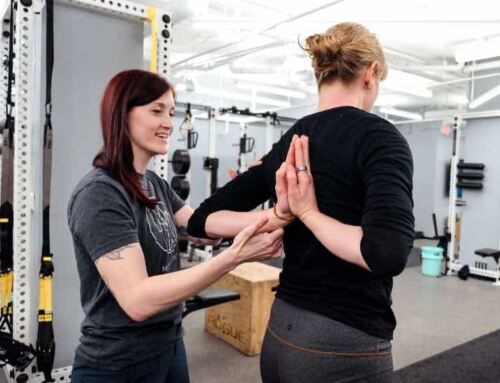
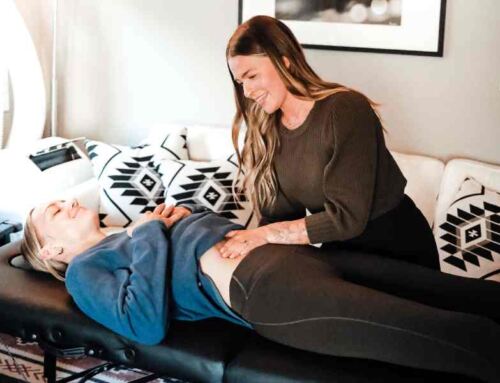
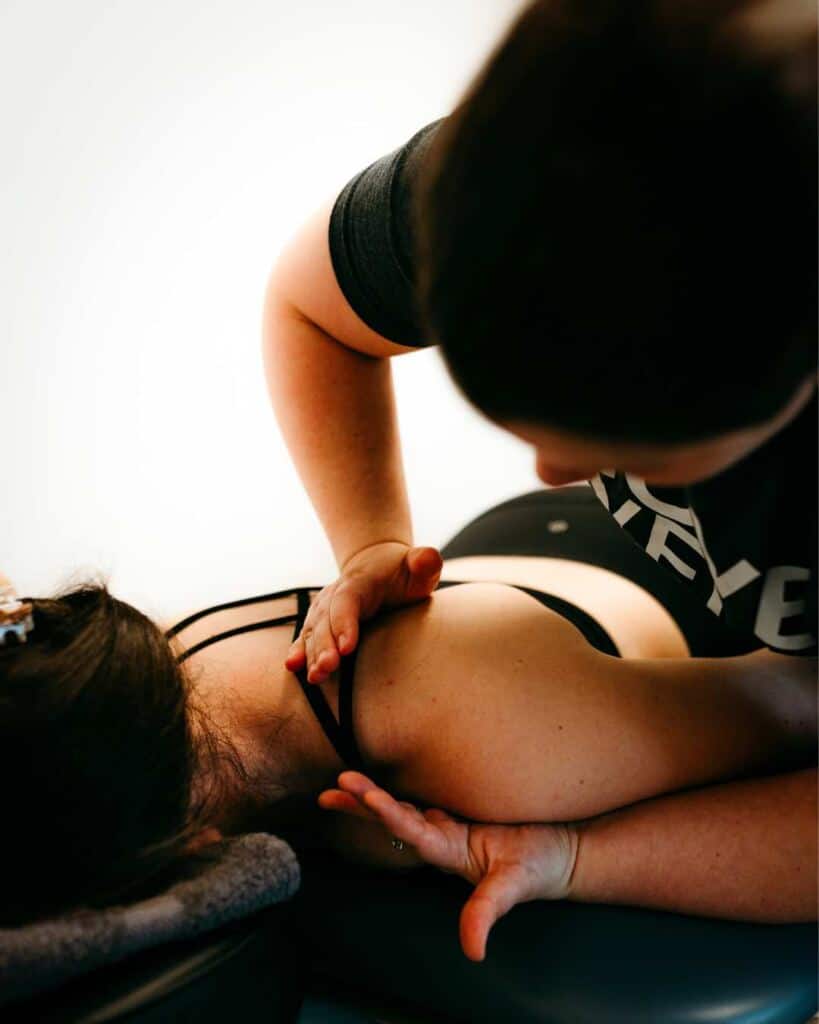
I am manually trained and skilled at assessing rib mobility and treating rib dysfunction. Identifying which ribs are out of alignment has become a specialty of mine. After a brief look at your active movement and a quick hands-on assessment, I can tell you which ribs are the issue and address them directly.
Manual techniques to address these trigger points or hypersensitive intercostal muscles may be tender, but they are highly effective [2]. Once the muscle is relaxed, I can mobilize the rib in the opposite direction. This stretches the appropriate intercostal muscle (the one in the small gap and not the wide-open one) and is the key to restoring normal rib mobility.
After treatment, I will instruct you in a few specific exercises to help maintain that rib alignment and strengthen the surrounding muscles. This ensures that once we get that rib moving correctly, it is more apt to stay that way.
Exercises for Alignment and Relief
Here are a few of the exercises that I typically instruct, which may be helpful for short-term relief and long-term stability.
Self-Myofascial Mobilization for Your Back
My go to is a tennis ball or lacrosse ball peanut (two balls either fused together or placed in a sock to keep them together.)
- A less intense (less focal pressure) option is using a foam roller.
- Yoga wheels with a spinal groove are a great tool and come in varying sizes for more or less pressure and less or more stretch.
As we established, you DO NOT want to use a single tennis/lacrosse/massage ball or an acupressure cane.
You want pressure to be symmetrical and broad to start. Starting with a foam roller would be the most broad, then a yoga wheel, then a peanut would be the least broad or most focal.
The key is to maintain symmetry on both sides of the spine. This is to ensure that focal pressure on one side of the spine does not yield another rib dysfunction!
For the least amount of pressure, start with your tool of choice against the wall and lean against it, using the tool to perform an assisted squat while it massages the muscles on either side of your spine.
You get a bit of a leg workout, but this is usually the most tolerable method.
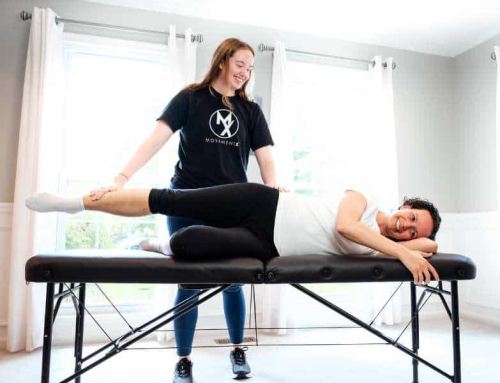
Active Movement
This exercise has a lot of names, but is commonly called “side lying thoracic rotation.”
- Lying on your side with your knees together and bent comfortably, and arms out in front, bring your top arm to your same side chest and place your hand on your chest.
- Take a slow breath in. Slowly rotate your trunk so you are looking up to the sky as you blow your breath out.
- Return to the start position and repeat.
- Try five times before switching sides and repeating the other direction.
- You may find one side is easier than the other or goes farther.
Discuss with your PT! Sometimes I have my patients rotate to the easier side first as this can increase muscle relaxation on the opposite side and ease movement for the opposite, more limited direction afterward.
This movement with breath is an excellent way to maintain and encourage thoracic spine and rib mobility.
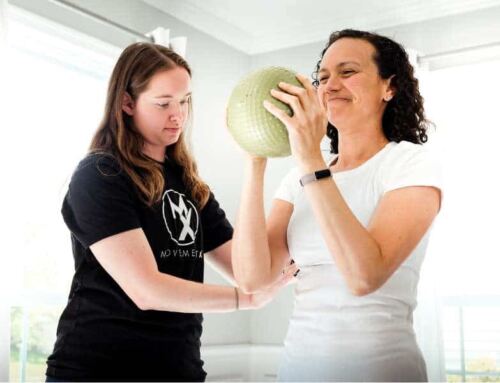
Supportive Strengthening
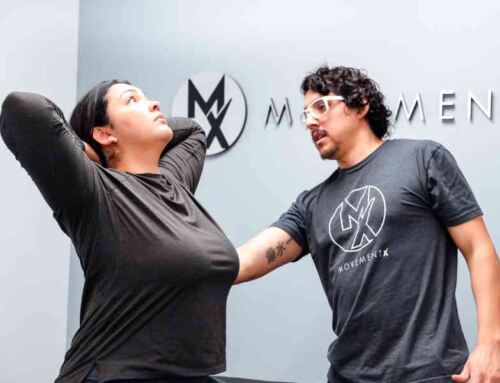
Serratus Anterior: this muscle connects your shoulder blade (scapula) to your ribs and is a key muscle in rib stability. There are various ways of strengthening this muscle, but a favorite of mine is written out below.
Serratus Anterior Exercise: Grandma’s Shawl
- Start with a light resistance band (you can always progress to a heavier one!) and wrap it around your shoulders (like a shawl)
- Hold the band in each hand and out in front like you are going to hug a tree. There is some finesse in how the band is placed around your arms so it does not roll up to the top of your shoulders, but you will find the sweet spot.
- Alternate punching forward slowly, focusing on the movement coming from your shoulder blade only. This is meant to be felt under your shoulder blade and on the inside of your shoulder blade. You should stop immediately if you have pain or the sensation that mirrors that of your prior knot!
Middle Trapezius: this muscle connects your scapula to your spine and is a key muscle in scapular stability, which is typically affected by rib dysfunction.
This is my “go-to” exercise for “Oh I have been sitting at my desk all day and I need to move now!” While seated at your desk, we all have a tendency to fall into “shrimp mode” where our backs round and we slouch like a shrimp with our hands palm down on a keyboard in front of us. The goal of this exercise is to reverse this posture.
- Sit towards the edge of your chair, feet flat on the floor and under your knees.
- Sit tall, and straighten your spine the best you can.
- Tuck your chin in (double chins are PT-approved!)
- With your elbows bent and palms up, slowly move your arms out to the side and squeeze your shoulder blades together.
- You can add a resistance band to make this exercise harder or just focus on the movement to start.
Be sure to discuss your desk set up with your PT so they can recommend adjustments for improving your ergonomics and reducing unnecessary stress and strain on your body while you work!
Note: The above isn’t medical advice. Always consult with a doctor (or a MovementX Doctor of Physical Therapy) directly before modifying your movement routines.
A Final Note on Your Progress
These exercises are a great starting point for finding relief and improving your strength and mobility! However, everyone’s body is unique, and there are many other options that may be an even better fit for your specific needs.
It is important to establish care with a manually trained physical therapist for a comprehensive evaluation and assessment. Allow your physical therapist to determine what is most beneficial, most appropriate, and (most importantly) most safe for you.
Stop “digging” in the wrong places and start moving toward a permanent solution. Your ribs (and shoulder blades) will thank you!
References
- Haase DR, Shaikh HS. Anatomy of the ribs, sternum, and costal margin. J Orthop Trauma. 2024;38(12S):S1-S6. doi:10.1097/BOT.0000000000002919
- Zhai T, Jiang F, Chen Y, Wang J, Feng W. Advancing musculoskeletal diagnosis and therapy: a comprehensive review of trigger point theory and muscle pain patterns. Front Med. 2024;11:1433070. doi:10.3389/fmed.2024.1433070
About the Author

Dr. Katelyn Nicoletta is a Doctor of Physical Therapy with advanced manual therapy certifications based in the Triangle area of North Carolina. She treats a wide variety of patients, including athletes, desk workers, and prenatal and postnatal women, with a particular passion for supporting individuals managing joint hypermobility. Dr. Katelyn’s goal is to empower clients to better understand their bodies, reduce pain, and build sustainable strength for long-term function and resilience.
Share This Page
Related Resources
Found this page interesting? Discover more insightful resources below.