The Secret to Perfect Posture
Psst, we have a secret to share with you about the perfect posture and it’s a good one.
In fact, it’s so good that it just happens to be the most proven, most effective, most coveted solution to optimize your posture, decrease pain, and stay healthy and happy.
Ready for it?
Movement.
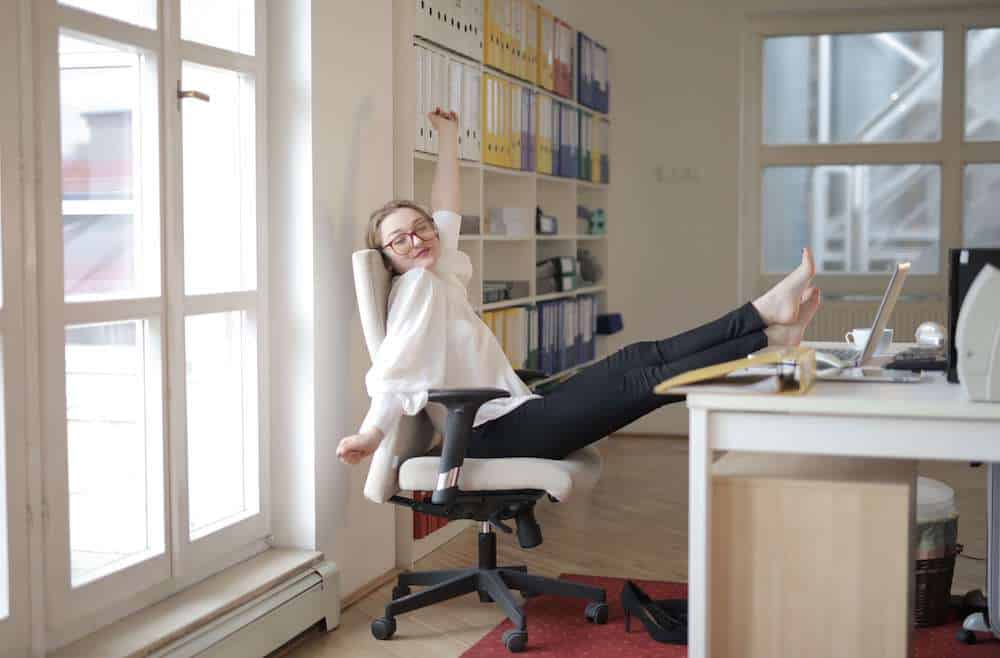
It really is that easy.
Our bodies were designed to move which includes bending, twisting, standing, running, jumping, turning over, reaching up. We were never designed to stay in one position for very long.
Although there is a ton of valuable information out there about how to sit properly with correct posture, the best advice we can give you is to simply keep moving. Remember Newton’s First Law?
“An object at rest stays at rest and an object in motion stays in motion.”
The Anatomy of Posture
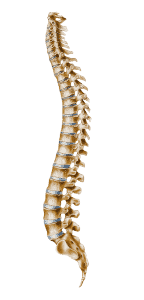
The Problem
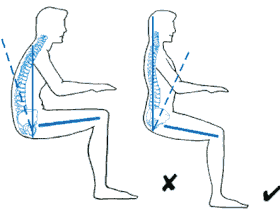
When we sit with poor posture, this “S” curve turns into a “C” shaped curvature and places stress on the spine. Abnormal pressure builds up in our discs, the space for our nerves begins to compress, and our joints and muscles start to tighten up. This can cause the onset of pain in your neck, shoulders, wrist and hand, low back, and result in visual fatigue, headache, and mental stress.
This all sounds so morbid, doesn’t it? But remember, our spines are extremely strong and resilient structures and can handle this stress for periods of time. But hour after hour, day after day, year after year, it does start to add up. At MovementX, we prefer proactive solutions instead of reactive solutions—so let’s dive into a few things to do for your perfect posture.
Two Solutions to Poor Working Posture

1.) Optimize Your Desk Setup
Not all desks or chairs are created equal. Here are some tips and tricks to follow when setting up your workstation.
Chair Setup
-
- Height: Your chair height should be just high enough so that your feet are flat on the floor and your hips are just slightly elevated above your knees.
- Back: The back of the chair should be perpendicular to the floor or very slightly tilted back (sorry, you don’t get to lean back and kick your feet up on this one). The curvature of the chair should support the low back enough so that it prevents you from slouching. Even those desk chairs that appear “ergonomic” often don’t have enough back support to hold us upright against our own body weight. If you don’t feel supported, look into one of these lumbar rolls.
- Armrests: Not every chair requires arm rests, but if you will be typing for long periods of time, it’s not a bad idea to have them. If you do have armrests, they should be low enough that they support your elbows at a 90 degree angle and allow your shoulders to relax. Most importantly, they should be able to slide underneath your desk, allowing you to be close to your keyboard.
Hint: So what if you are out to eat, or in class… and don’t have your really cool lumbar roll or ergonomic equipment on hand? Lean slightly forward and wedge your butt into the back of your chair. With your feet firmly on the ground, lean back gently on your chair. As a bonus, roll up a sweater and place it in the small of your back. Voila! A makeshift lumbar support.
Desk Setup
Your desk should be high enough to clear your knees at a minimum. If your desk is too tall, raise up your chair and place a footstool under the desk to support your feet. Most importantly, your desk height should support the most ergonomic monitor height and keyboard placement. Let’s dive in.
Monitor Setup
Your monitor should sit about two feet in front of your face. The top of the monitor should be just below eye level so your eyes are looking subtly down at the computer screen. Remember, your neck should remain in a neutral position while your eyes look down. For most people, their monitor height is too low and encourages an excess amount of flexion “bending” in the neck. This means you likely need a monitor stand or monitor arm to raise up your monitor to keep your neck in alignment. This is no different for laptops,! Ideally, your laptop needs to be at or just below eye-level. Great thing is, they make some pretty fancy laptop stands these days that would be worth looking into.
Keyboard Setup
Let your arms hang naturally by your sides. Keep your elbows in place and bend your arms to a 90 degree angle. Take a deep breath and relax your upper traps (shoulder muscles). Now hold that relaxed position and place a keyboard directly under your hands. If you are like most people, your desk setup likely encourages you to reach forward to your keyboard. This can place excess stress on your muscles and tendons and lead to common desk injuries like carpal tunnel, tennis elbow, and pinched nerves. Don’t let your keyboard get away from you, look into a sliding keyboard tray or roll your chair up directly to your desk so you don’t have to reach or lean forward.
Click here to check out another great article on the best equipment to help you maximize productivity while working from home.
2.) Just keep moving!

Even if you have the perfect ergonomic setup, if your body isn’t moving, you’ll eventually develop aches and pains.
When your pelvis can move while sitting, your lumbar spine moves, your neck is in healthier alignment all the while your spinal discs are getting precious blood flow and oxygen, your core muscles are activating, and you are passively burning calories.
Some easy ways to remind yourself to move early and often include setting an alarm on your phone, choosing to use the upstairs restroom instead of the one on the level of your home office, even making it a goal that every time you take a sip of water you do 10 shoulder rolls each direction. Committing to these simple things and yourself can make a world of difference.
While these simple movement tricks can be something you start today, it can be more of a challenge to know if your desk is ergonomically sound and it be even harder to know what type of desk equipment to invest in if you are recovering from pain or injury.
Contact us today to set up an ergonomic assessment and equipment recommendation to help you or your company achieve the perfect posture and remember, just keep moving!
About the Author
Dr. Lauren Lynass is a physical therapist in Beaufort, SC. She is a certified in Running Gait Analysis and Strength & Conditioning. Lauren specializes in Dry Needling, Sports Injuries, and Pediatric Orthopedic Conditions (and Torticollis). Beyond her practice, Lauren is an avid runner, reader, and trailer traveler!


